 ShopAssist
Partner onboarding
Set up ShopAssist for a client, from connecting the store to going live.
Implementation agencies use the partner portal to add clients, build and test their assistants, and take them live.
Sign in
Open the partner portal and enter your agency email address. ShopAssist emails a sign-in link. There is no password.
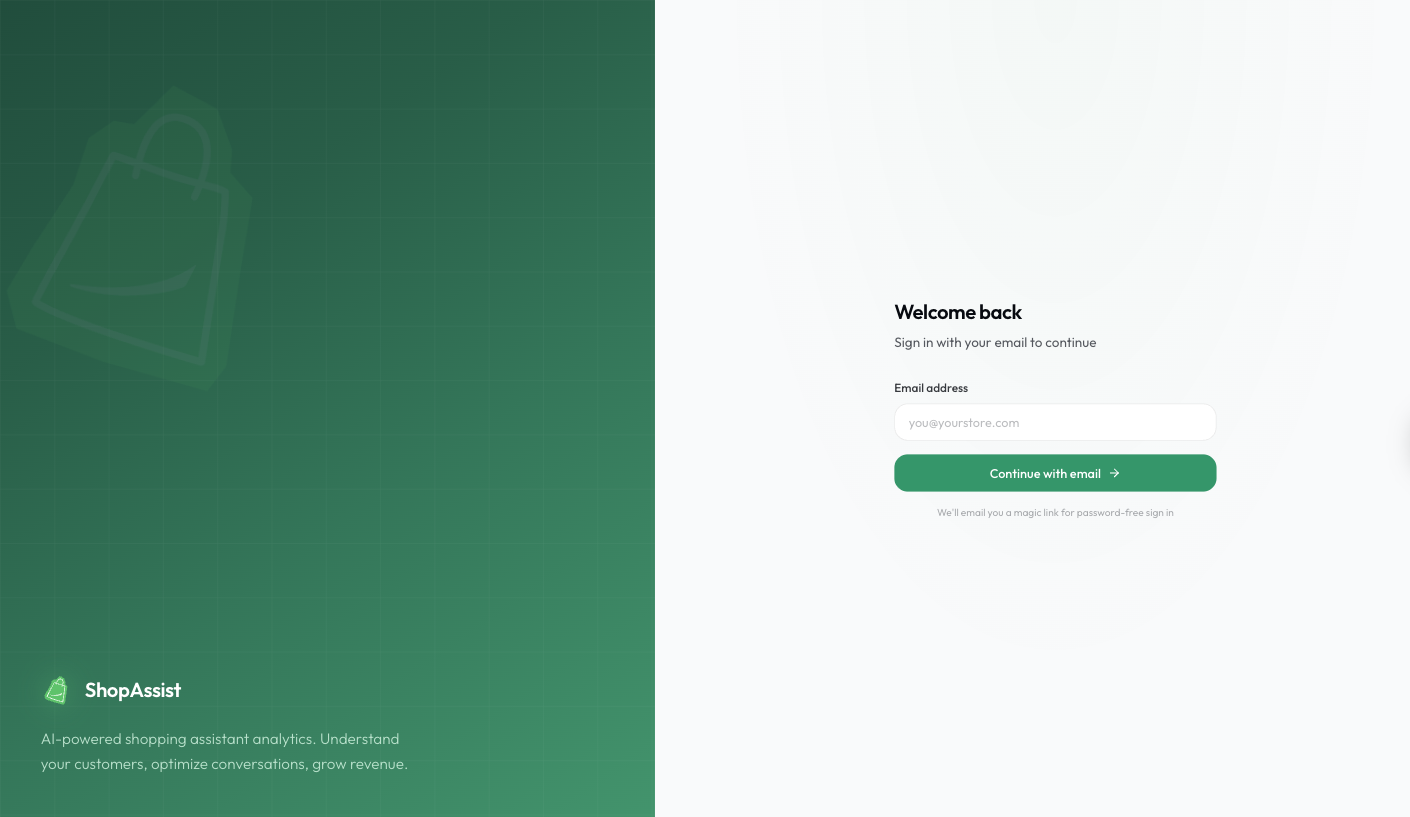
The link opens your Clients page.
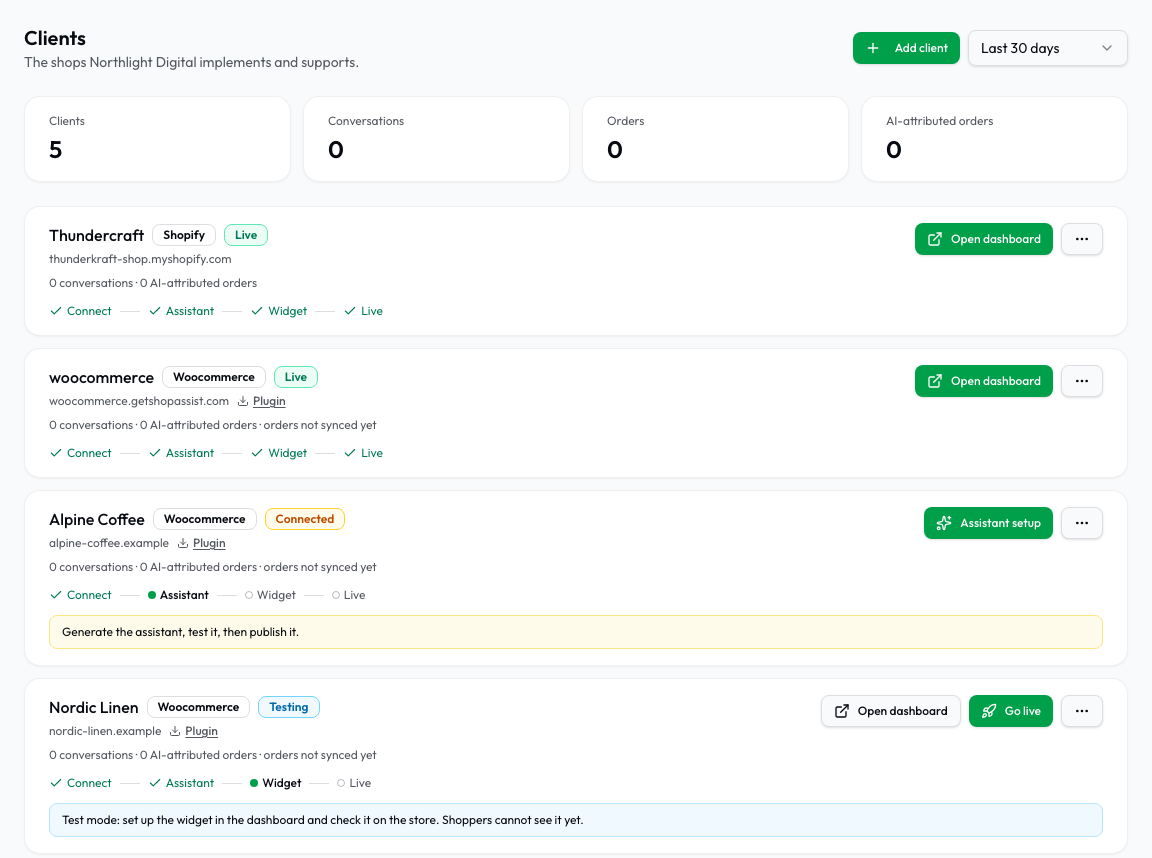
Each client card shows where the client is in the setup, and one button for the next step. The other actions are in the More actions menu (⋯).
Use the address your agency was set up under. An agency address is never also a merchant login, so use a separate address for any merchant account you hold.
Invite your team
Add colleagues from the Team page. Enter an email address and choose the role. Invitation links expire after 48 hours.
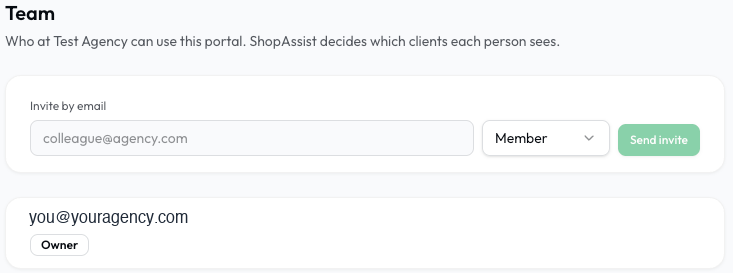
Everyone in the agency can do the client work: add clients, generate assistants, edit what they know, publish prompts and take shops live.
Owners can additionally invite and remove people. That is the only difference.
One person belongs to one agency.
Add a client
- Open Clients and select Add client.
- Enter the shop domain, and optionally a name.
- Select the platform, then Add client.
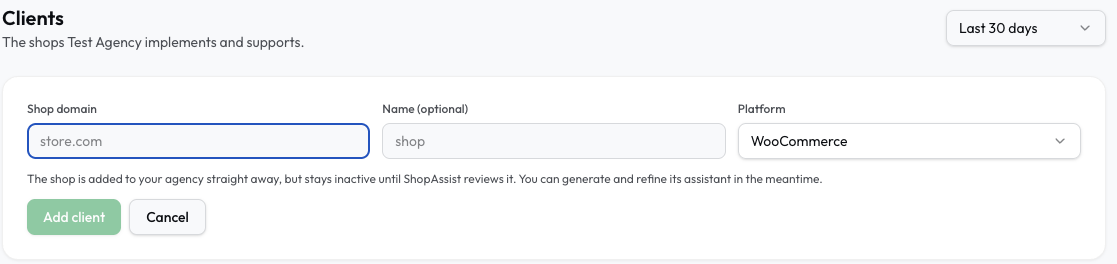
The card appears immediately with the status created. The shop serves no shoppers until it is taken live.
The form covers WooCommerce, Shopify, PrestaShop and nopCommerce. For Magento or a custom storefront, contact support to have the shop created and assigned to your agency. The Magento guide lists what to send.
Connect the store
This step differs by platform.
- Connect a Shopify store
- Connect a WooCommerce store
- Connect a Magento store
- Connect a PrestaShop store
- Connect a nopCommerce store
Build and ship the assistant
Once the client card reads Connected, the remaining work is the same on every platform.
Four tasks inside that flow have their own guides:
- Review and edit the prompt
- Adjust the widget to the shop
- Set up widget localisation
- Enhance ShopAssist
Getting help
Email support@getshopassist.com with the client's shop domain, the step reached, and what appeared instead.
Contact support for the actions agencies cannot take: creating an agency, moving a shop held by another agency, unpublishing a prompt, and restoring an earlier prompt version.
Last updated on